Understanding the Roster / Schedule Process
Creating the Roster / Schedule
If you are the Administrator and the person responsible for creating the roster / schedule, you can use the Day, Week or Month views as illustrated by the red arrows in order to view and maintain the Roster / schedule. In this example we have started to create a roster in the week view.

You will also notice that the roster / schedule tiles are in grey when you are creating new shifts on the roster / schedule . This indicates that the Shift has not yet been SAVED, and therefore can be changed, moved, copied as required.
Saving your Roster / Schedule
You can save your roster /schedule as ‘Draft’ at anytime, and return back to change it if required as many times as required.
To save as ‘DRAFT’ click on the option ‘Save as Draft’
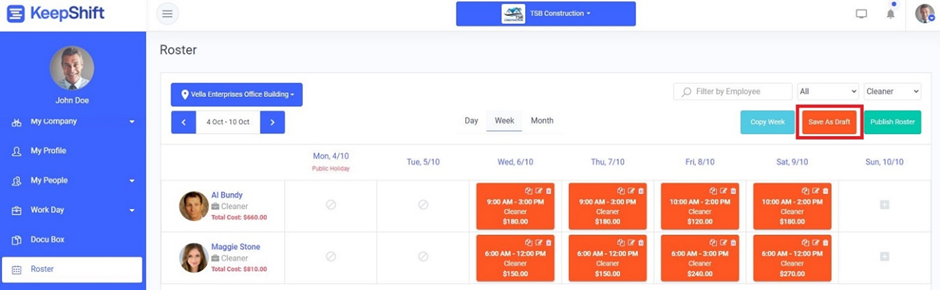
You will also notice the tiles change from grey to orange. You can continue to maintain the roster. Any new shifts will appear as ‘grey’ tiles until they have been ‘save as draft’
Publishing the Roster / Schedule
When you are complete in setting up your roster you can then ‘Publish the Roster / Schedule’

You will notice that the tiles will now all appear ‘green’ to signify that the Roster / Schedule has been published.
This is important because it signifies that the employees have been notified of that roster / schedule and aware of the shifts that they have been assigned. Any changes will need to be re-published so that the employees are aware of their up to date shifts
Roster / Schedule Notification
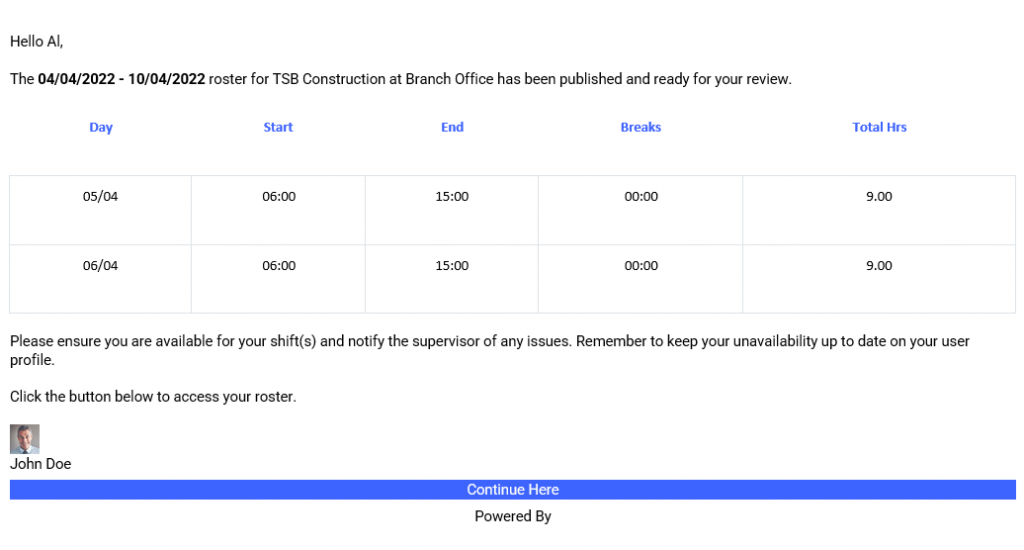
When the Roster / Schedule is published, the employees will receive immediate notification via their application, or mobile device, as well as a detailed email of the shifts that have been assigned to them.
A sample email notification is shown here